Artificial Grass
AquaGrass can allow you to have a fresh looking, beautifully cut lawn all year round. It can be an ideal accompaniment to your pond landscape, especially if you struggle to cut the grass around the edge of your pond. Built up features around a pond, such as waterfalls, can create uneven surfaces or slopes that are difficult to upkeep but AquaGrass can help with this.
The Different Styles of Artificial Grass
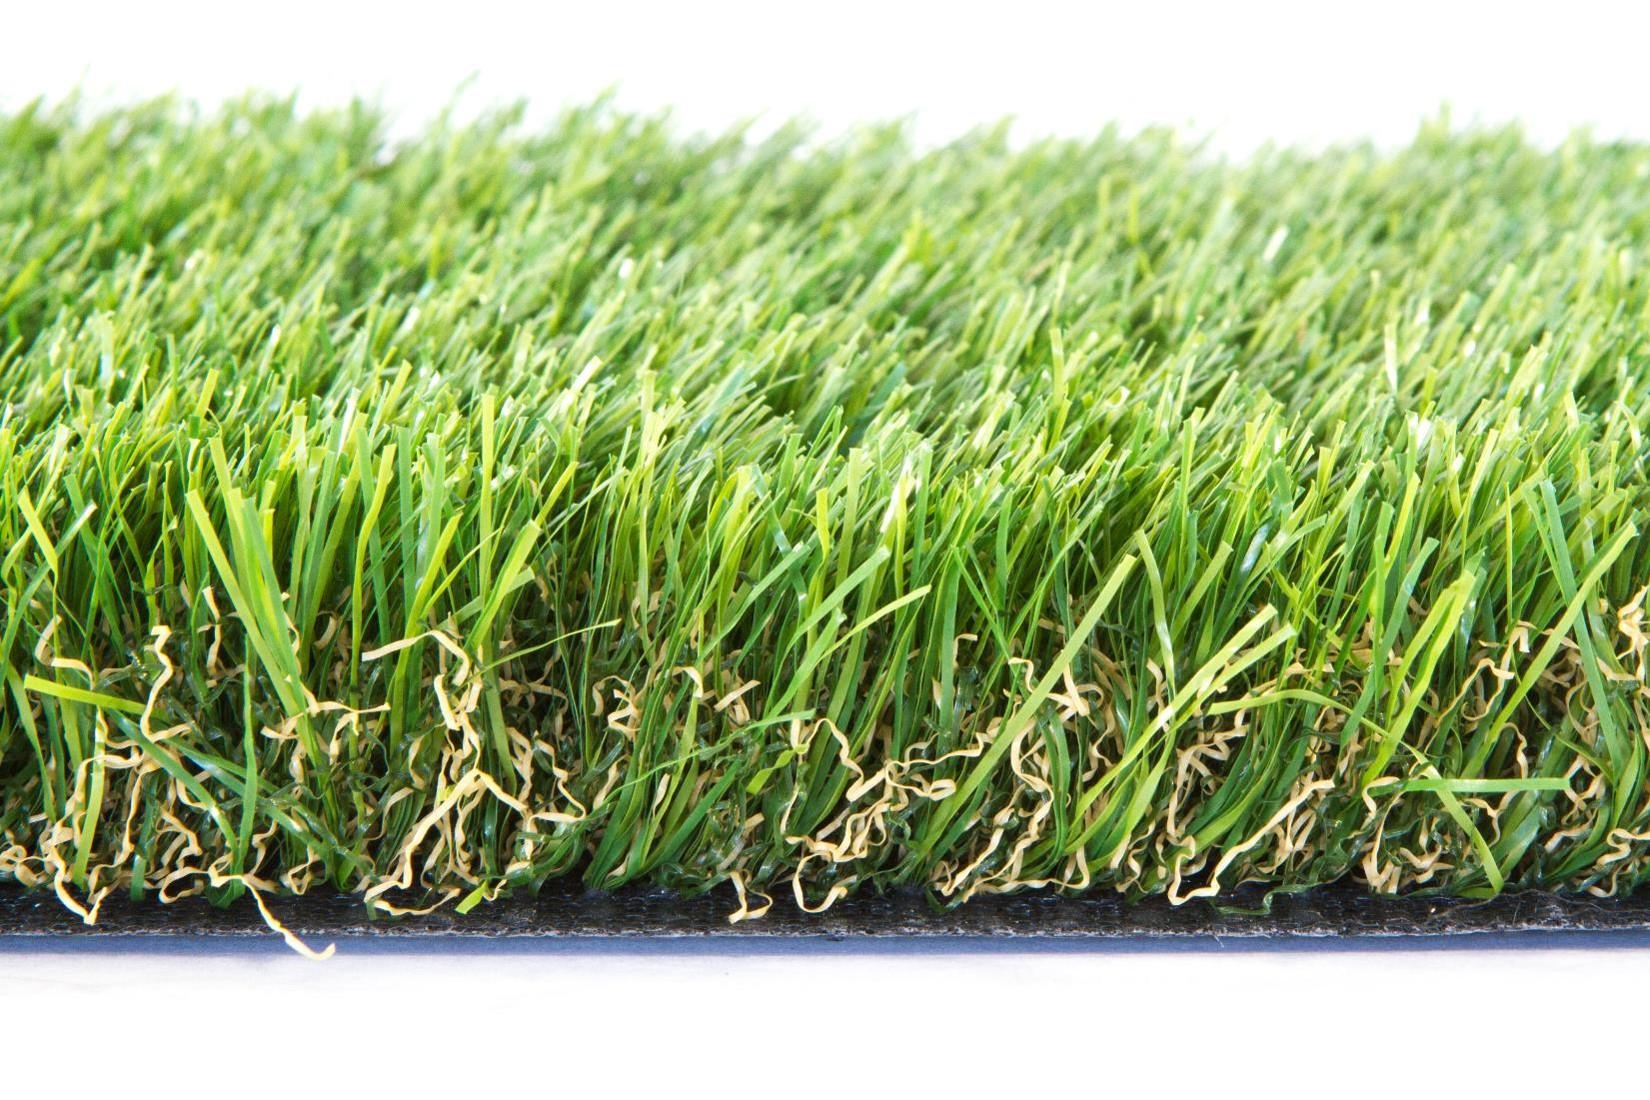
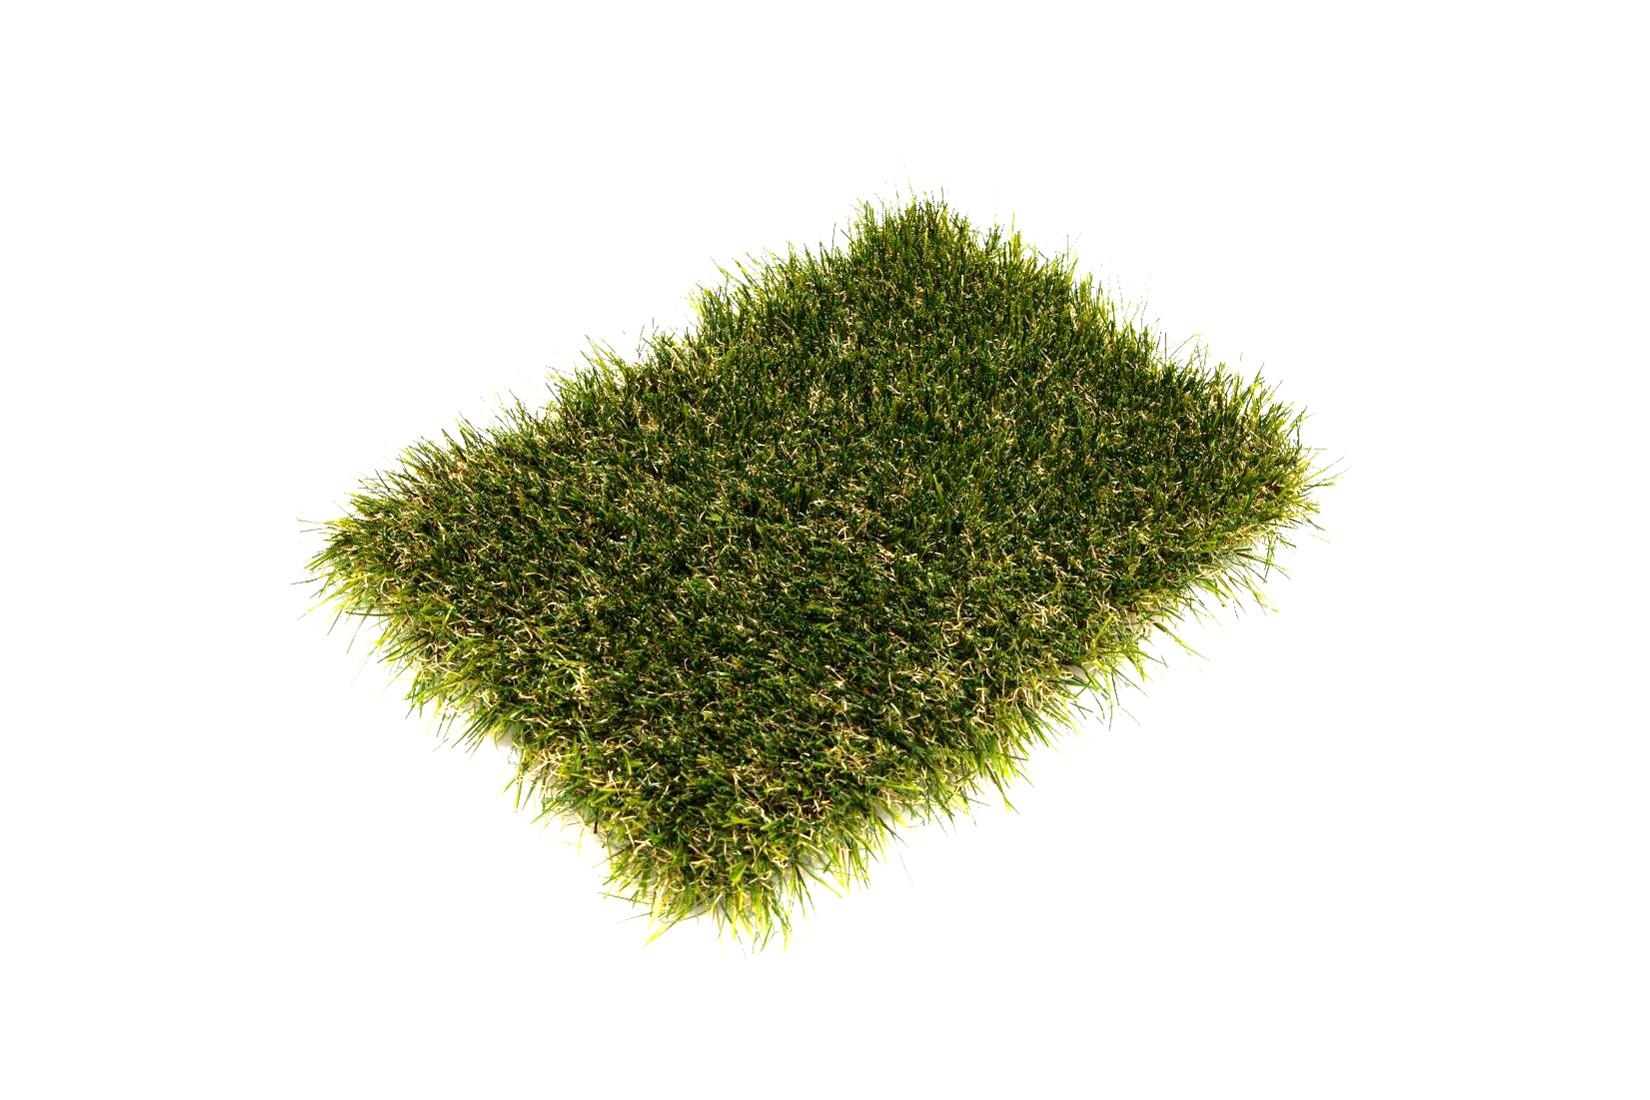
We offer three different styles of Artificial Grass. Please see the below images and information.
Clipper- 20mm deep pile
.jpg)
Sweet Spot- 30mm deep pile

Prestige- 35mm deep pile

We have FREE Artificial Grass Sample Pack available if you would like to order these.
Measuring your space
When planning how you will lay your AquaGrass, it’s important to remember that it should be laid with the pile facing forwards towards you. If you are using two pieces with a join, then both pieces should face forwards, so this may impact the quantity you need to order.
Where can it be installed?
Artificial grass is versatile enough to be laid on just about any surface. It can be laid on soil, turf, concrete, tarmac and paving. It copes beautifully with sloping areas. It can even be laid on roof terraces and balconies
For the best results the grass needs to laid in the same direction so you are looking into the pile.
Cleaning and maintenance
With AquaGrass you can say goodbye to your lawn mower, your lawn feed and your hosepipe. All you need to do with an artificial lawn is remove any material like leaves and dog mess. Like a natural lawn you do not need to clean AquaGrass, however should you need to (e.g. dog mess), you can use house hold cleaners as long as they do not contain bleach. The cleaners can then be rinsed away with water/ a hose.
AquaGrass will give you up to 20 years of maintenance-free life depending on the volume of traffic in the area. Fake grass won’t fade or flatten. It is UV stabilised and will retain its colour and integrity season after season.
Drainage
ArquaGrass is fully porous and rainwater drains through it. Independent testing confirms artificial grass’s porosity to BS7044. Just like a garden with grass.
How should it be installed & what will I need?
Laying on soil or sand base:
Preparation
For best results, you should lay your turf on a 35mm layer of compacted sharp sand. To maintain levels it may be necessary to remove an equivalent amount of the topsoil. It is unwise to leave vegetable material under your new grass as this will rot down unevenly. The ground or sand should be compacted. For smaller areas you can do this with the back of a shovel or builders plank, or for larger areas use a vibrating plate compactor which can be hired at most equipment hire centres.
Grass Underlay
Should be laid immediately under the grass, this stops any seeds finding their way into the sand and germinating. Overlap the membrane by at least 100mm and take right to the edge of the area. Click here for our Grass Underlay.
Acclimatising
Lay the artificial grass on top of the membrane. Allow approximately 50mm of artificial grass to trim off to make that perfect edge. It’s a good idea to leave the grass for a day to settle. This helps to stop any creasing or wrinkling.
Joining
Butt any grass edges together, when you are satisfied with the result, peel the grass back and lay our fibreglass backing tape under the join. Using a spreader apply our Aqua Bond mastic adhesive or multi-purpose adhesive to the tape, then simply fold back the grass taking care not to squeeze the adhesive up on to the grass strands.
Trimming
Cut and trim your artificial grass, using a sharp craft knife, making sure there are no gaps between walls and grass. Always use sharp blades and change the blade regularly. The grass sometimes has a material trim to one edge this is just from production and needs to be removed before laying, it is not for joining the edge, you will need to use joining tape and adhesive for all joins.
Fixing
Use our ground pins, nailed into the ground at an angle every 200mm to secure the perimeter. Alternatively, you can create a small concrete haunch to glue to or bury lengths of treated timber to nail or tack to.
Laying on decking or for temporary use
Loose Lay
Lay the artificial grass out and trim to size. It will stay flat under its own weight. Garden furniture or planters can be used to hold it down in areas that are exposed to strong winds.
Underfelt
To provide a softer more absorbent feel, loose lay under the grass a 12mm exterior underfelt, (Pondkeeper Fleece/best Underlay). Ensure that any joints are neatly butted together.
Adhesive Fix
Use Aqua Bond Adhesives to stick it to any smooth surface.
Mechanical Fix
Use a staple gun or tack/nail to fix directly to the wood
To lay on concrete or a patio base
Preparation
Firstly, make sure that the surface to be covered is clean and smooth. A self-levelling compound may be required to remove surface imperfections that may show through to the top surface especially on thinner pile height products.
This can be purchased from DIY stores.
Underfelt
To provide a softer more absorbent feel, loose lay under the grass a 12mm exterior under felt (Pondkeeper Fleece/best Underlay). Ensure that any joints are neatly butted together.
Lay, join and trim the artificial grass as above
Laying on flat roofs
It is important that the roof will weight bear and also important not to puncture the waterproof membrane. Loose laying will avoid this. Our Aqua Bond adhesive will provide a more permanent fix but you should take local professional advice prior to making any permanent fix to flat roofs.
If you have any queries, please email us on info@pondkeeper.co.uk.